
Residential & Commercial Fence Installation, Repair & Replacement Services in Lower Mainland, BC.
Residential & Commercial Fence Installation, Repair & Replacement Services in Lower Mainland, BC.
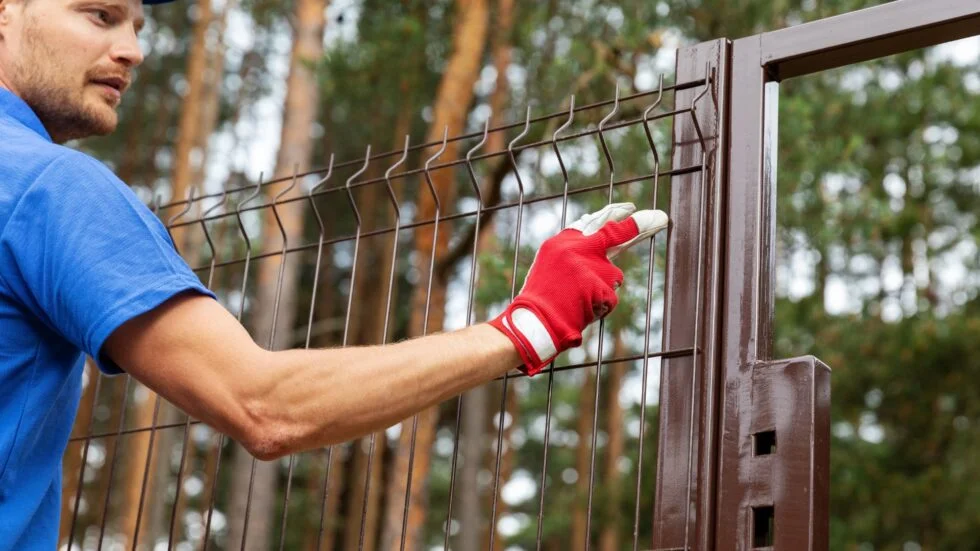
Thinking about adding a custom fence to your Lower Mainland property? It’s a great decision. A well-built fence gives you more privacy, improves security, and makes your home look better from the street. Whether you plan to build it yourself or hire professionals, knowing the installation steps will help you succeed.
At Poker Link Fence Inc., we've installed countless custom fences across the Lower Mainland, and we're excited to share our expertise with you. This step-by-step guide walks you through everything you need to know about custom fence installation—starting with initial planning to those final finishing touches that make your fence truly shine.
Prepared to transform your property? Let's get started!
Every great fence starts with solid planning. Taking time to map out your vision now saves headaches later!
Ask yourself: What's the primary purpose of your fence? Are you looking for:
Understanding your main goal helps guide every decision that follows.
The Lower Mainland’s climate, with rainy winters and warm summers, makes choosing the right material important. Some popular options are:
Draw a simple sketch of your fence idea. Think about the height, style, and any special features like gates or decorative post caps. Your design should match your home’s style and meet your needs.
Each municipality in the Lower Mainland has its own requirements for fence height, setback distances, and approved styles. Contact your local building department to understand what's permitted in your area.
If you live in a community with a Homeowners Association, review their guidelines carefully. Many require written approval before fence installation begins.
Getting the right permits before you start can help you avoid expensive mistakes and disagreements later.
A licensed surveyor can give you exact measurements of your property lines. This helps you avoid building on your neighbour’s land, which could lead to costly fence removal and relocation.
Good fences help keep good relationships with your neighbours, especially if you talk to them before you build. Let the people next door know about your plans. This simple step helps keep things friendly.
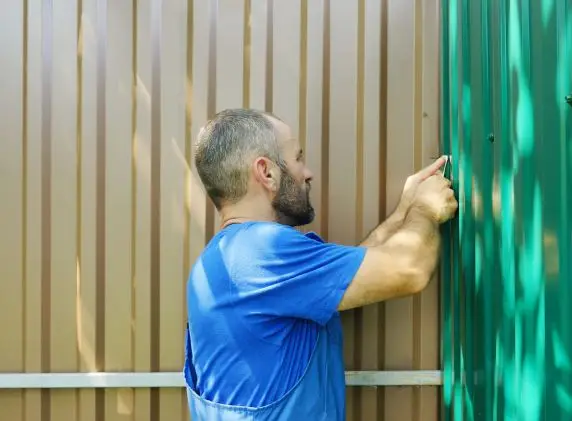
Proper site preparation makes installation easier and ensures better results!
Remove vegetation, rocks, debris, and any obstacles along your planned fence line. Trim back tree branches or shrubs that might interfere with installation or future maintenance.
Use stakes and string to mark where each fence post will go. Space the posts evenly, usually 6 to 8 feet apart for most homes. Double-check your measurements to make sure the posts line up correctly.
Posts are the backbone of your fence. Installing them correctly guarantees long-lasting stability!
Dig holes deep enough to support your fence. As a general rule, the hole should be about one-third the length of the post. For an 8-foot post, dig about 2.5 to 3 feet deep. In the Lower Mainland, where the soil is softer, you might need to dig a bit deeper for extra stability.
Make holes wider at the bottom than at the top. This creates a bell shape that anchors posts more securely.
Put each post in its hole and fill it with concrete. Use a level to make sure the posts are straight and line up with your string. Hold the posts in place with braces until the concrete hardens.
Allow concrete to cure for at least 24-48 hours before continuing. Patience here pays off with a fence that stands strong for years!
With your posts set and secure, you're ready to build out the fence structure!
Attach rails between posts, typically placing one near the top and one near the bottom of the fence. For taller fences, add a middle rail for extra support. Use your level to ensure rails are straight and even.
Now comes the satisfying part—watching your fence take shape! Attach fence panels or individual pickets to the rails. Maintain consistent spacing between boards for a professional, uniform appearance.
For privacy fences, position boards edge-to-edge. For decorative fences, space them evenly to create your desired look while upholding structural integrity.
This is where your fence truly becomes custom!
Position gates at entry points to your property. Ensure hinges are securely attached, and gates swing smoothly. Add a latch or lock system that meets your security needs.
Personalize your fence with:
These touches transform a basic fence into a stunning property feature!
You're in the home stretch! These final steps protect your investment and enhance appearance.
Use a good sealant or stain to protect wood fences in the Lower Mainland from wet weather. This helps prevent rot, warping, and damage, and it also brings out the wood’s natural look. If you want to paint your fence, choose exterior paint made for your climate.
Apply finishes according to the manufacturer's instructions for best results and longevity.
Walk along your entire fence, checking for:
Make adjustments now to ensure your fence looks great and functions perfectly!
Congratulations. You’ve installed a custom fence that adds privacy, security, and style to your property. Your effort has created a valuable feature you’ll enjoy for years.
Of course, if you'd prefer professional installation that guarantees excellent results, Poker Link Fence Inc. is here to help! We serve homeowners throughout the Lower Mainland with expert custom fencing solutions tailored to your unique needs and vision.
Our experienced team takes care of everything, from design and permits to installation and finishing. We use quality materials that can handle the local climate, and we back our work with strong warranties.
Ready to start your custom fence project? Contact Poker Link Fence Inc. today for a free consultation. We’ll help you create the perfect fence for your Lower Mainland property.


Copyright 2026 - Poker Link Fence